Article: How to Conceal Every Type of Spot
How to Conceal Every Type of Spot
Concealer Hacks for Every Type of Spot
By Ellen Parker
Big ones, red ones, flaky ones and bumpy ones.
Spots come in many shapes and sizes.
The only thing they have in common is appearing in the most inconvenient way, such as the middle of your cheek before a first date.
This can be infuriating and leave you frantically piling on concealer.
But is that always the best way to do it?
Every spot is different and requires a different expert technique to conceal it properly.
You will need:
- Beauty blender
- Small, thin brush (ideally a lip liner brush)
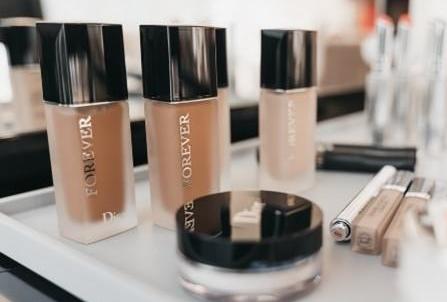
- High coverage concealer (avoid concealer wands as often the liquid is too thin). As a long sufferer of acne, I recommend MAC’s Pro Longwear concealer. It’s thick and stays in place but doesn’t feel too heavy. They also have it in 16 different shades.
- High coverage liquid foundation
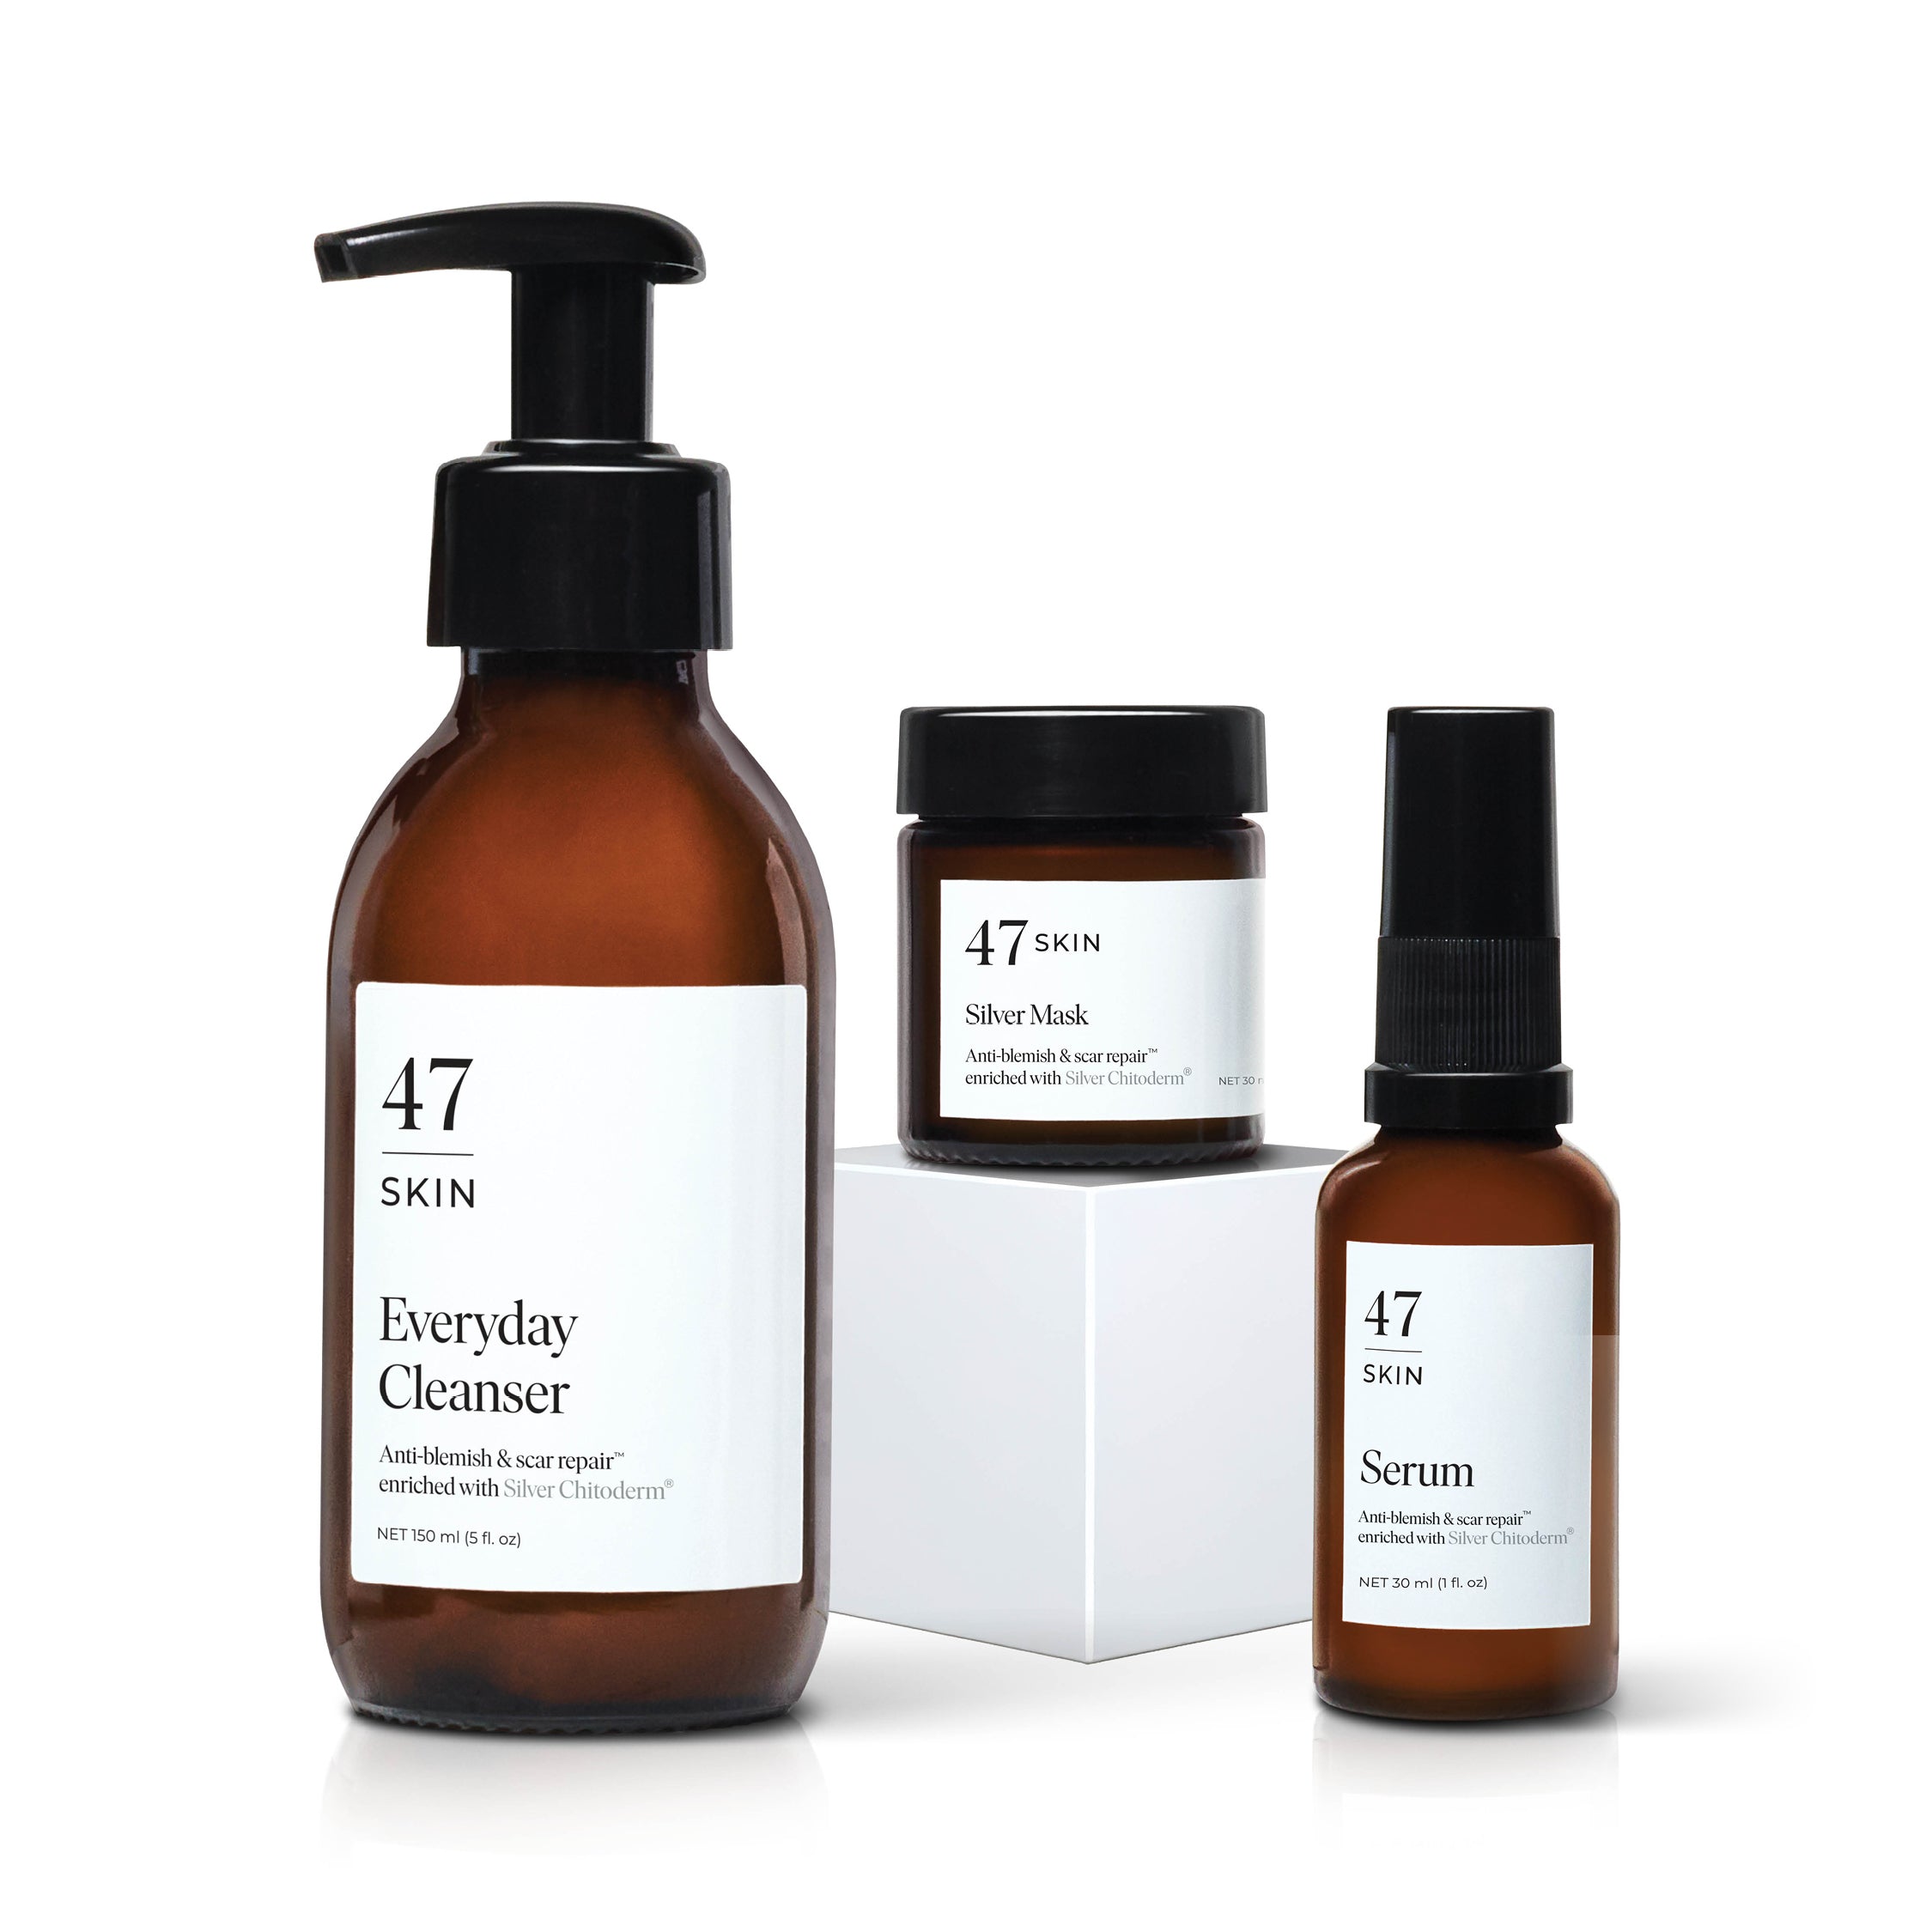
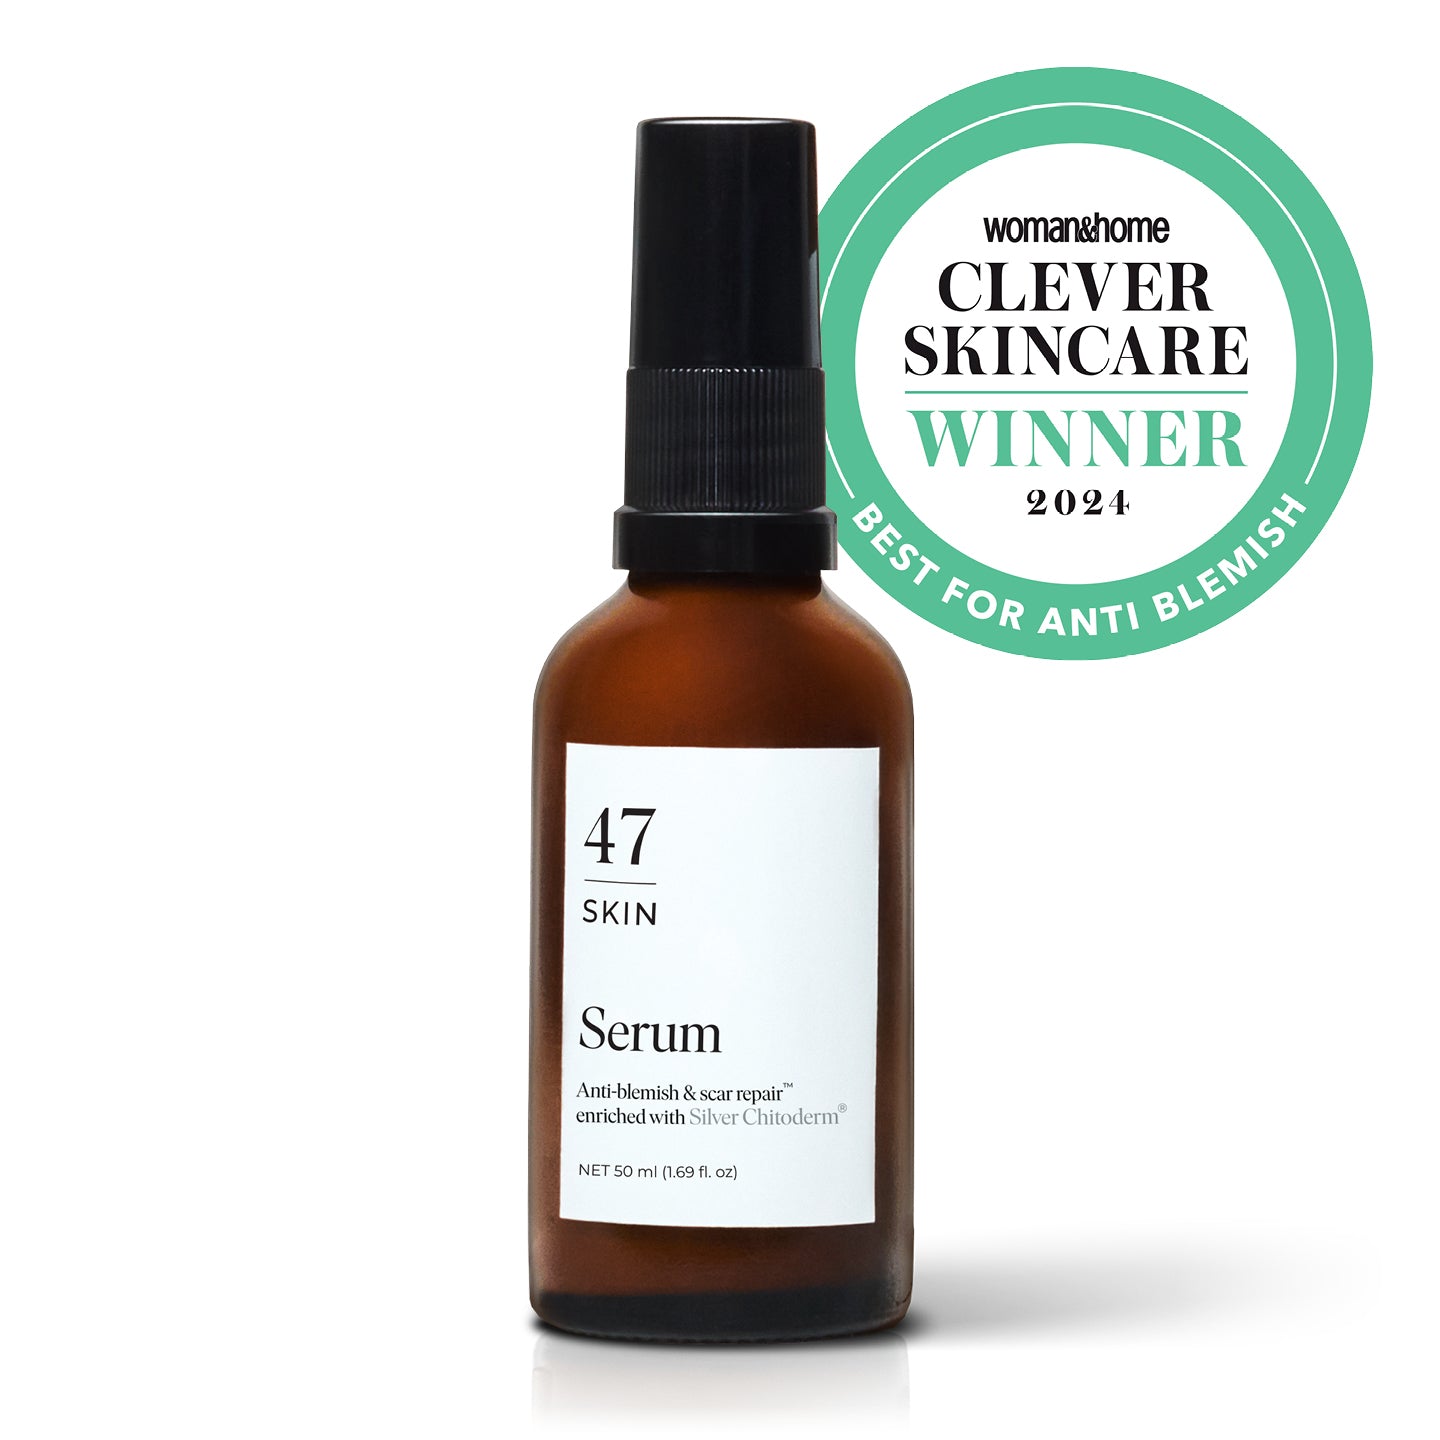
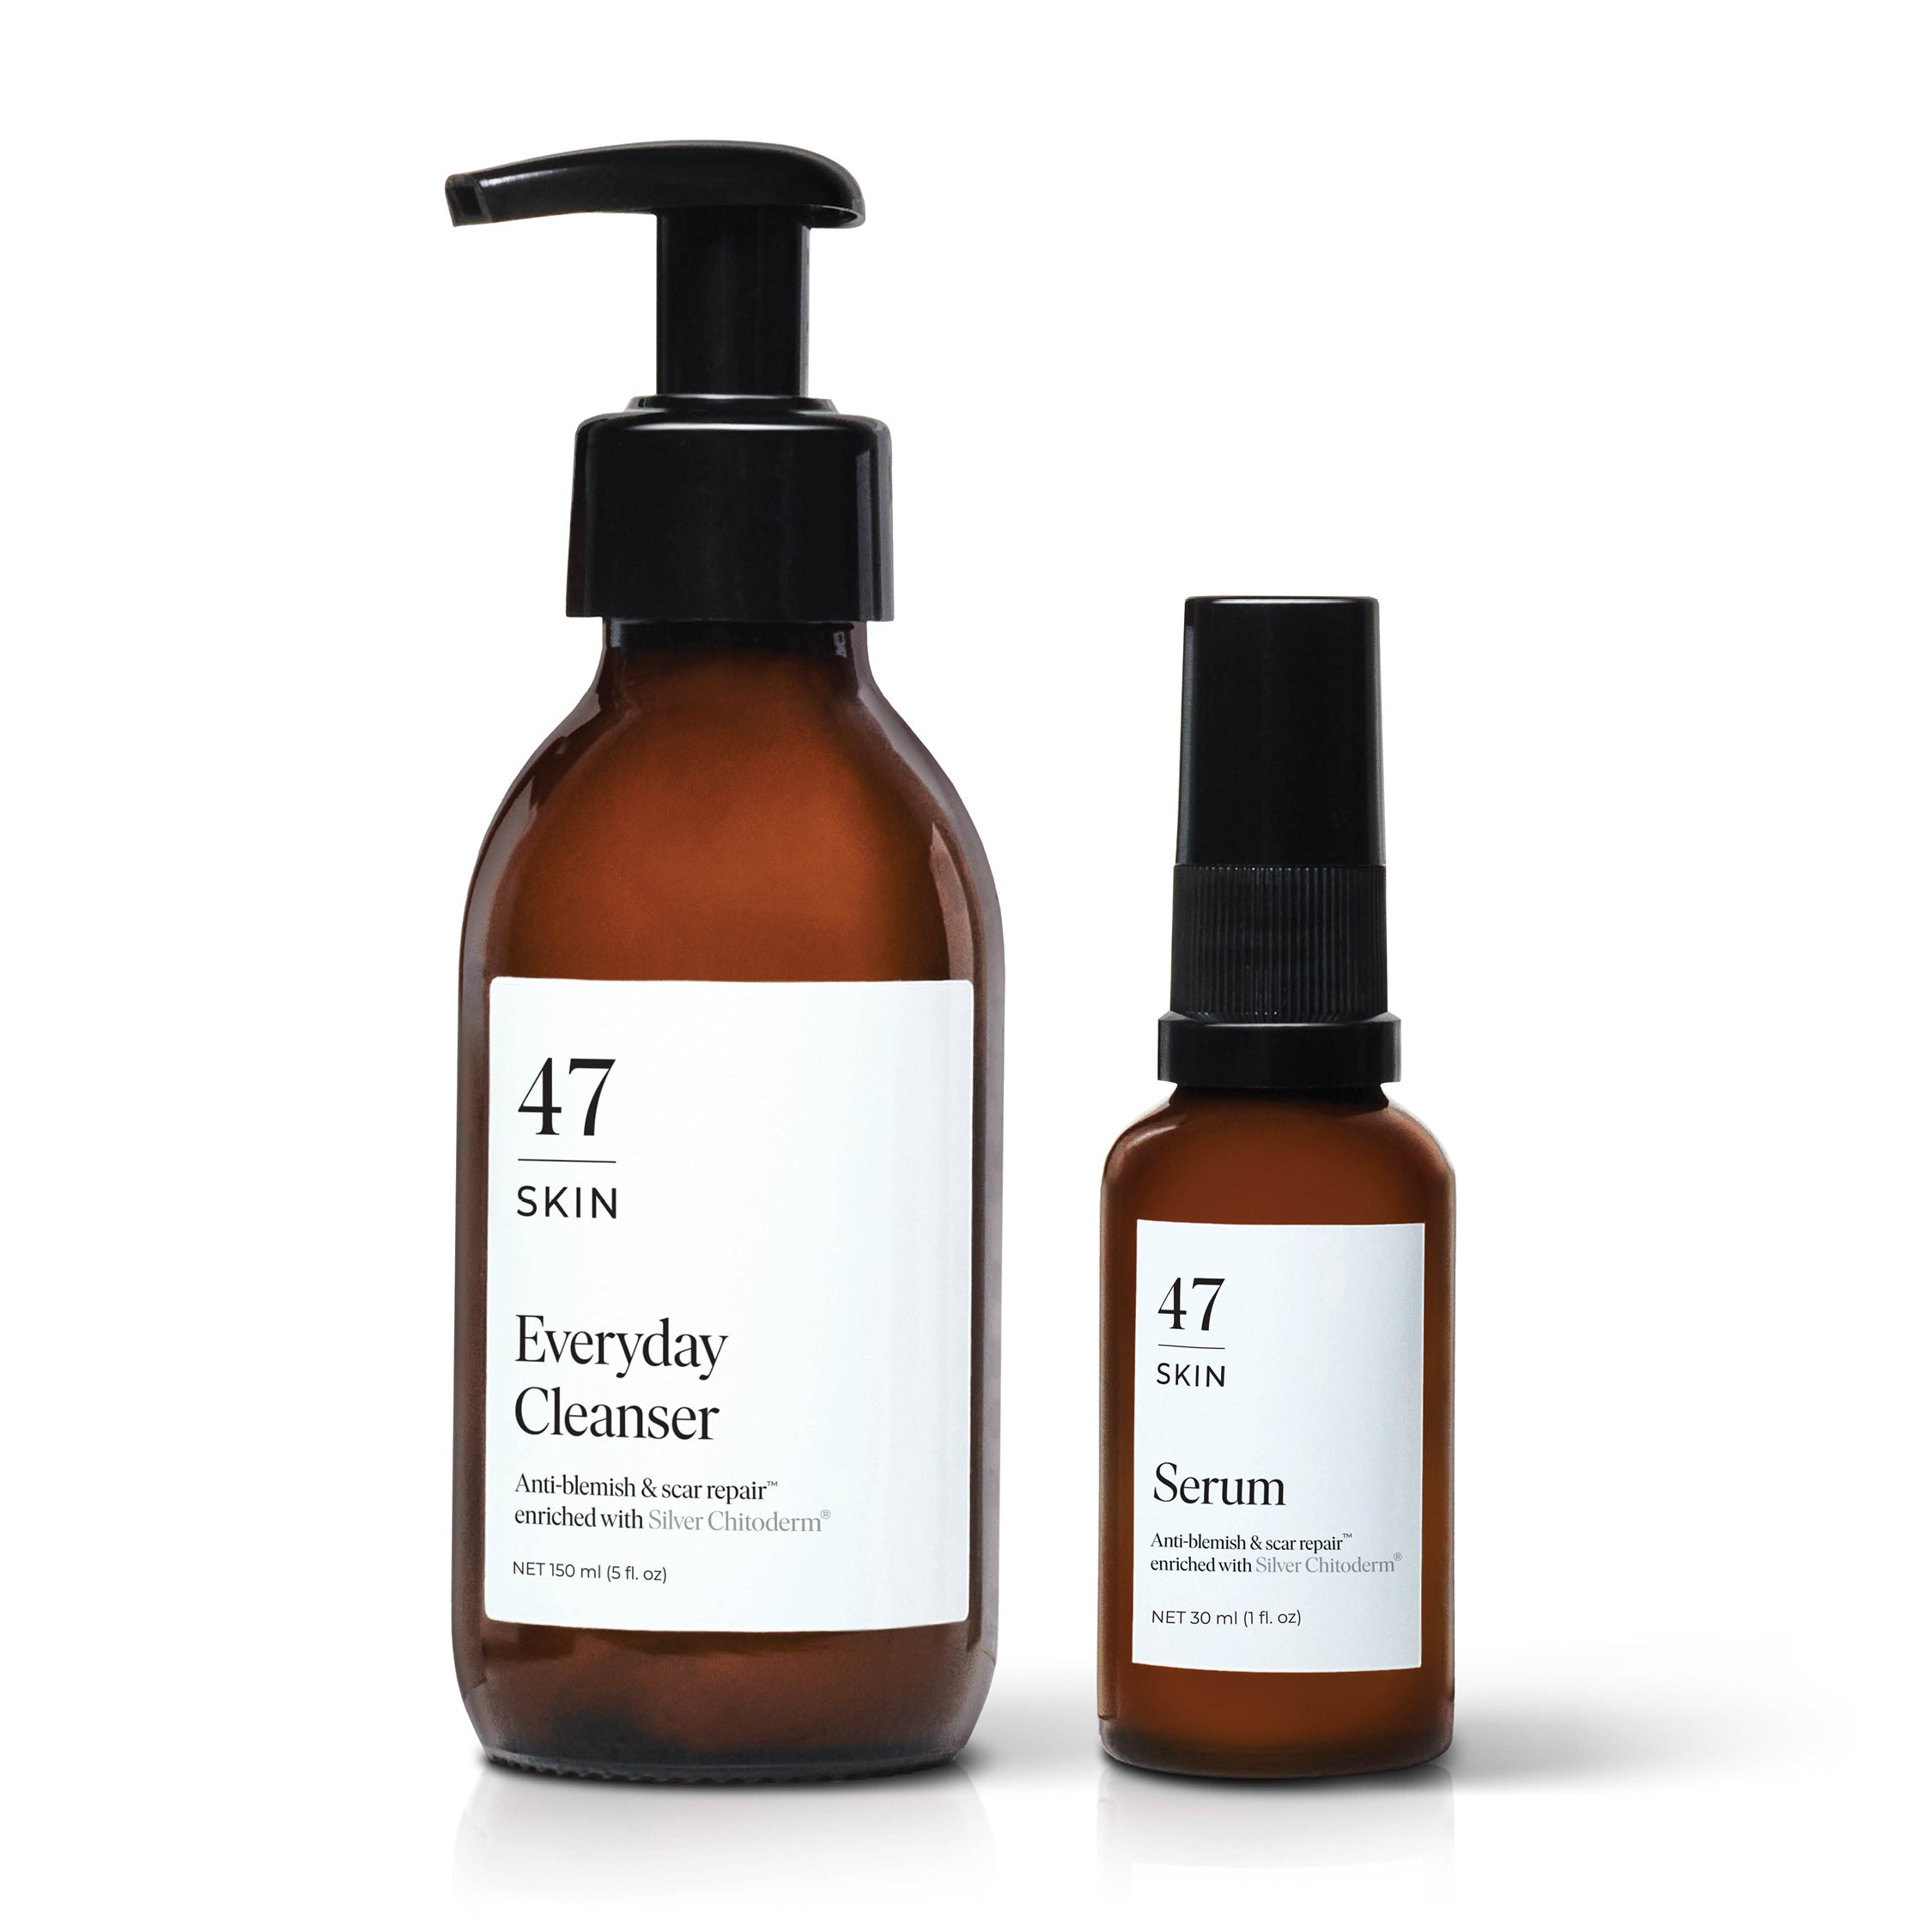
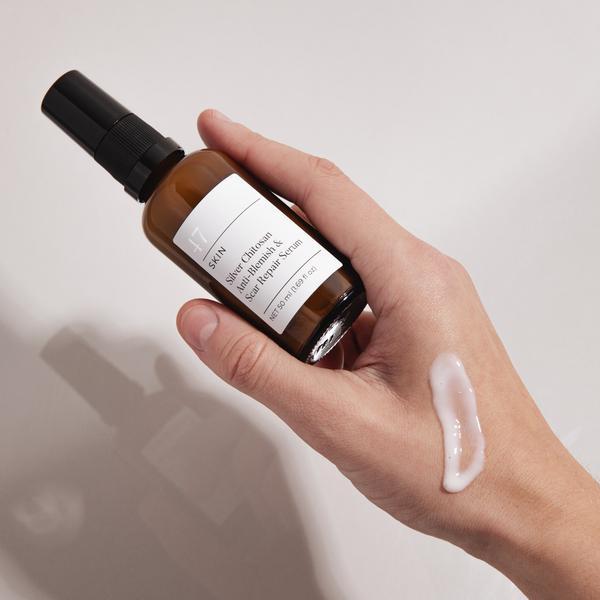
- Primer (Anti-blemish and Scar Repair Serum)
- Moisturiser
- Translucent powder
Always wash your hands, cleanse and moisturise your face before applying any make up
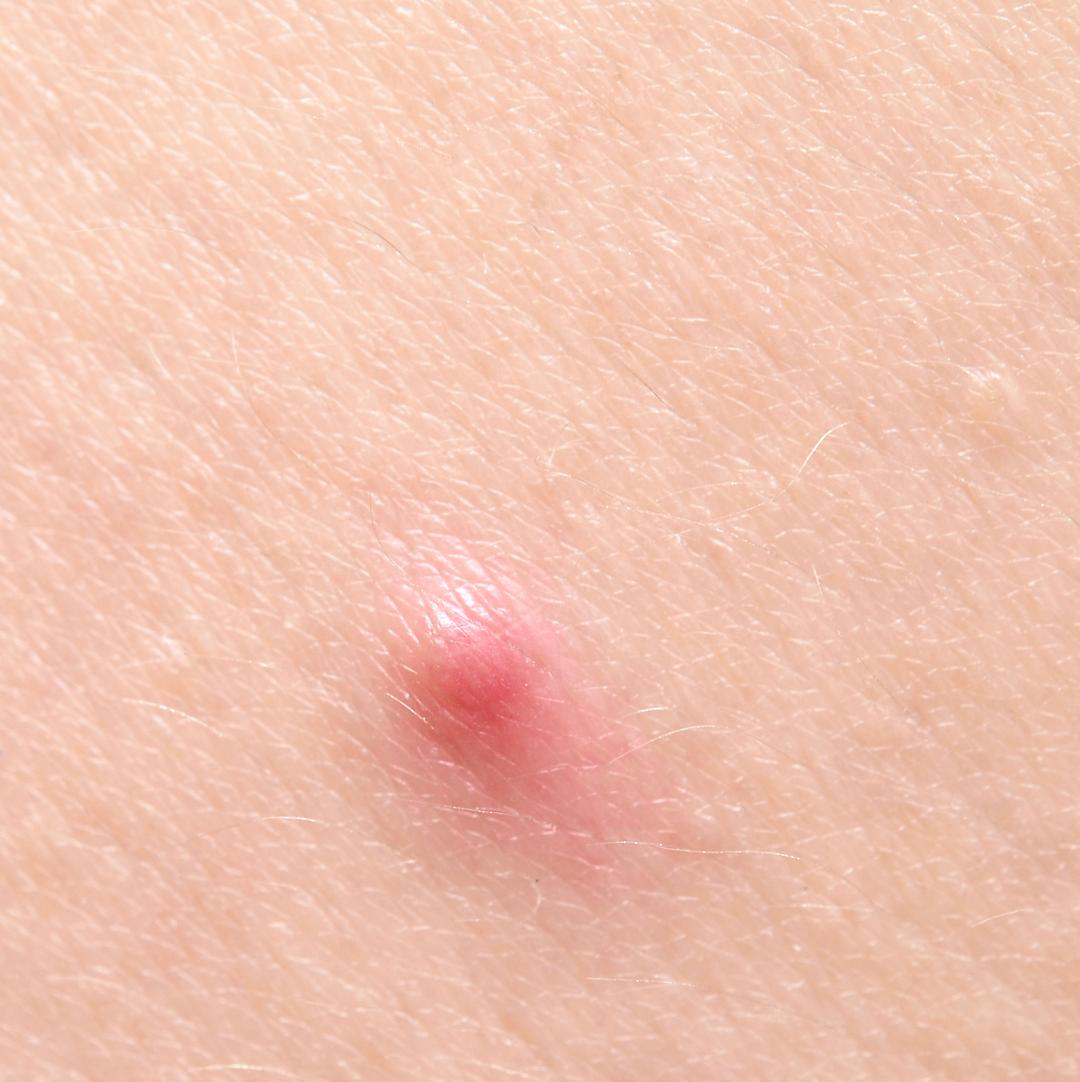
The Whitehead
This can be one of the most difficult spots to cover. This is because it’s harder for concealer to stick to it, often leading to an ugly ‘peekaboo’ halfway through the day.
If you can, wait for it to heal, but we all know that life often doesn’t work like that. When you have to cover it up, here's what to do:
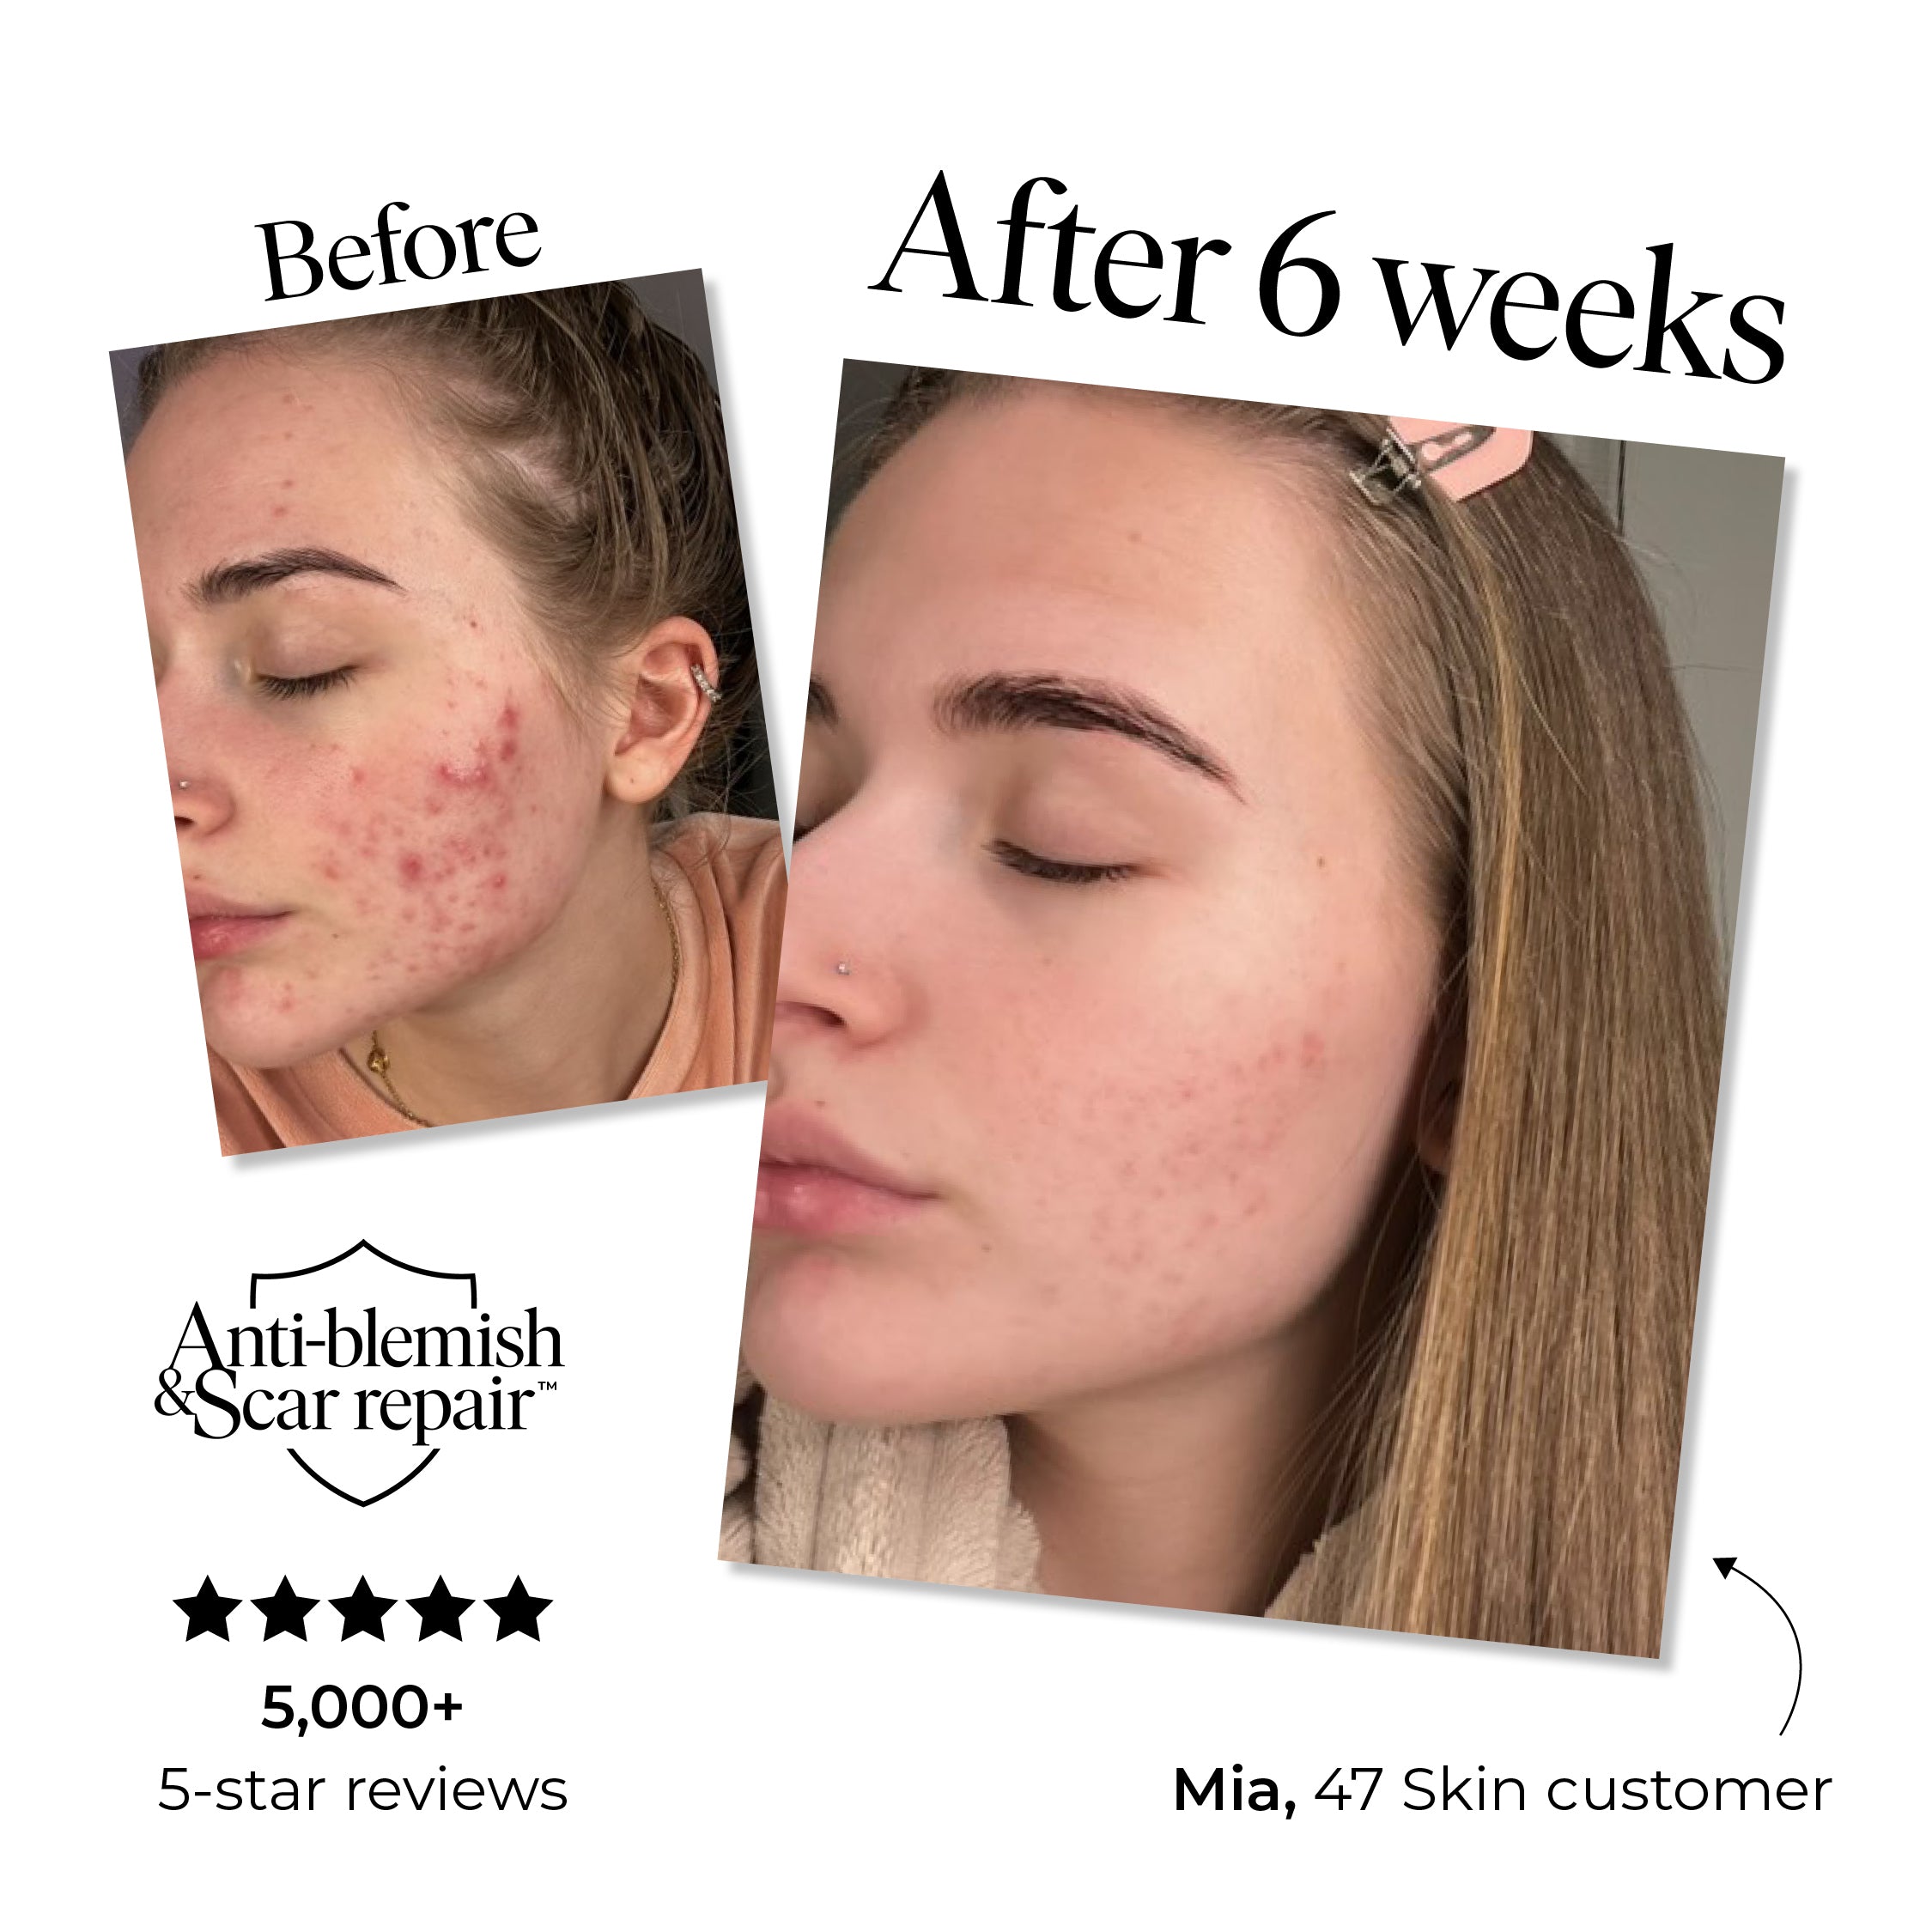
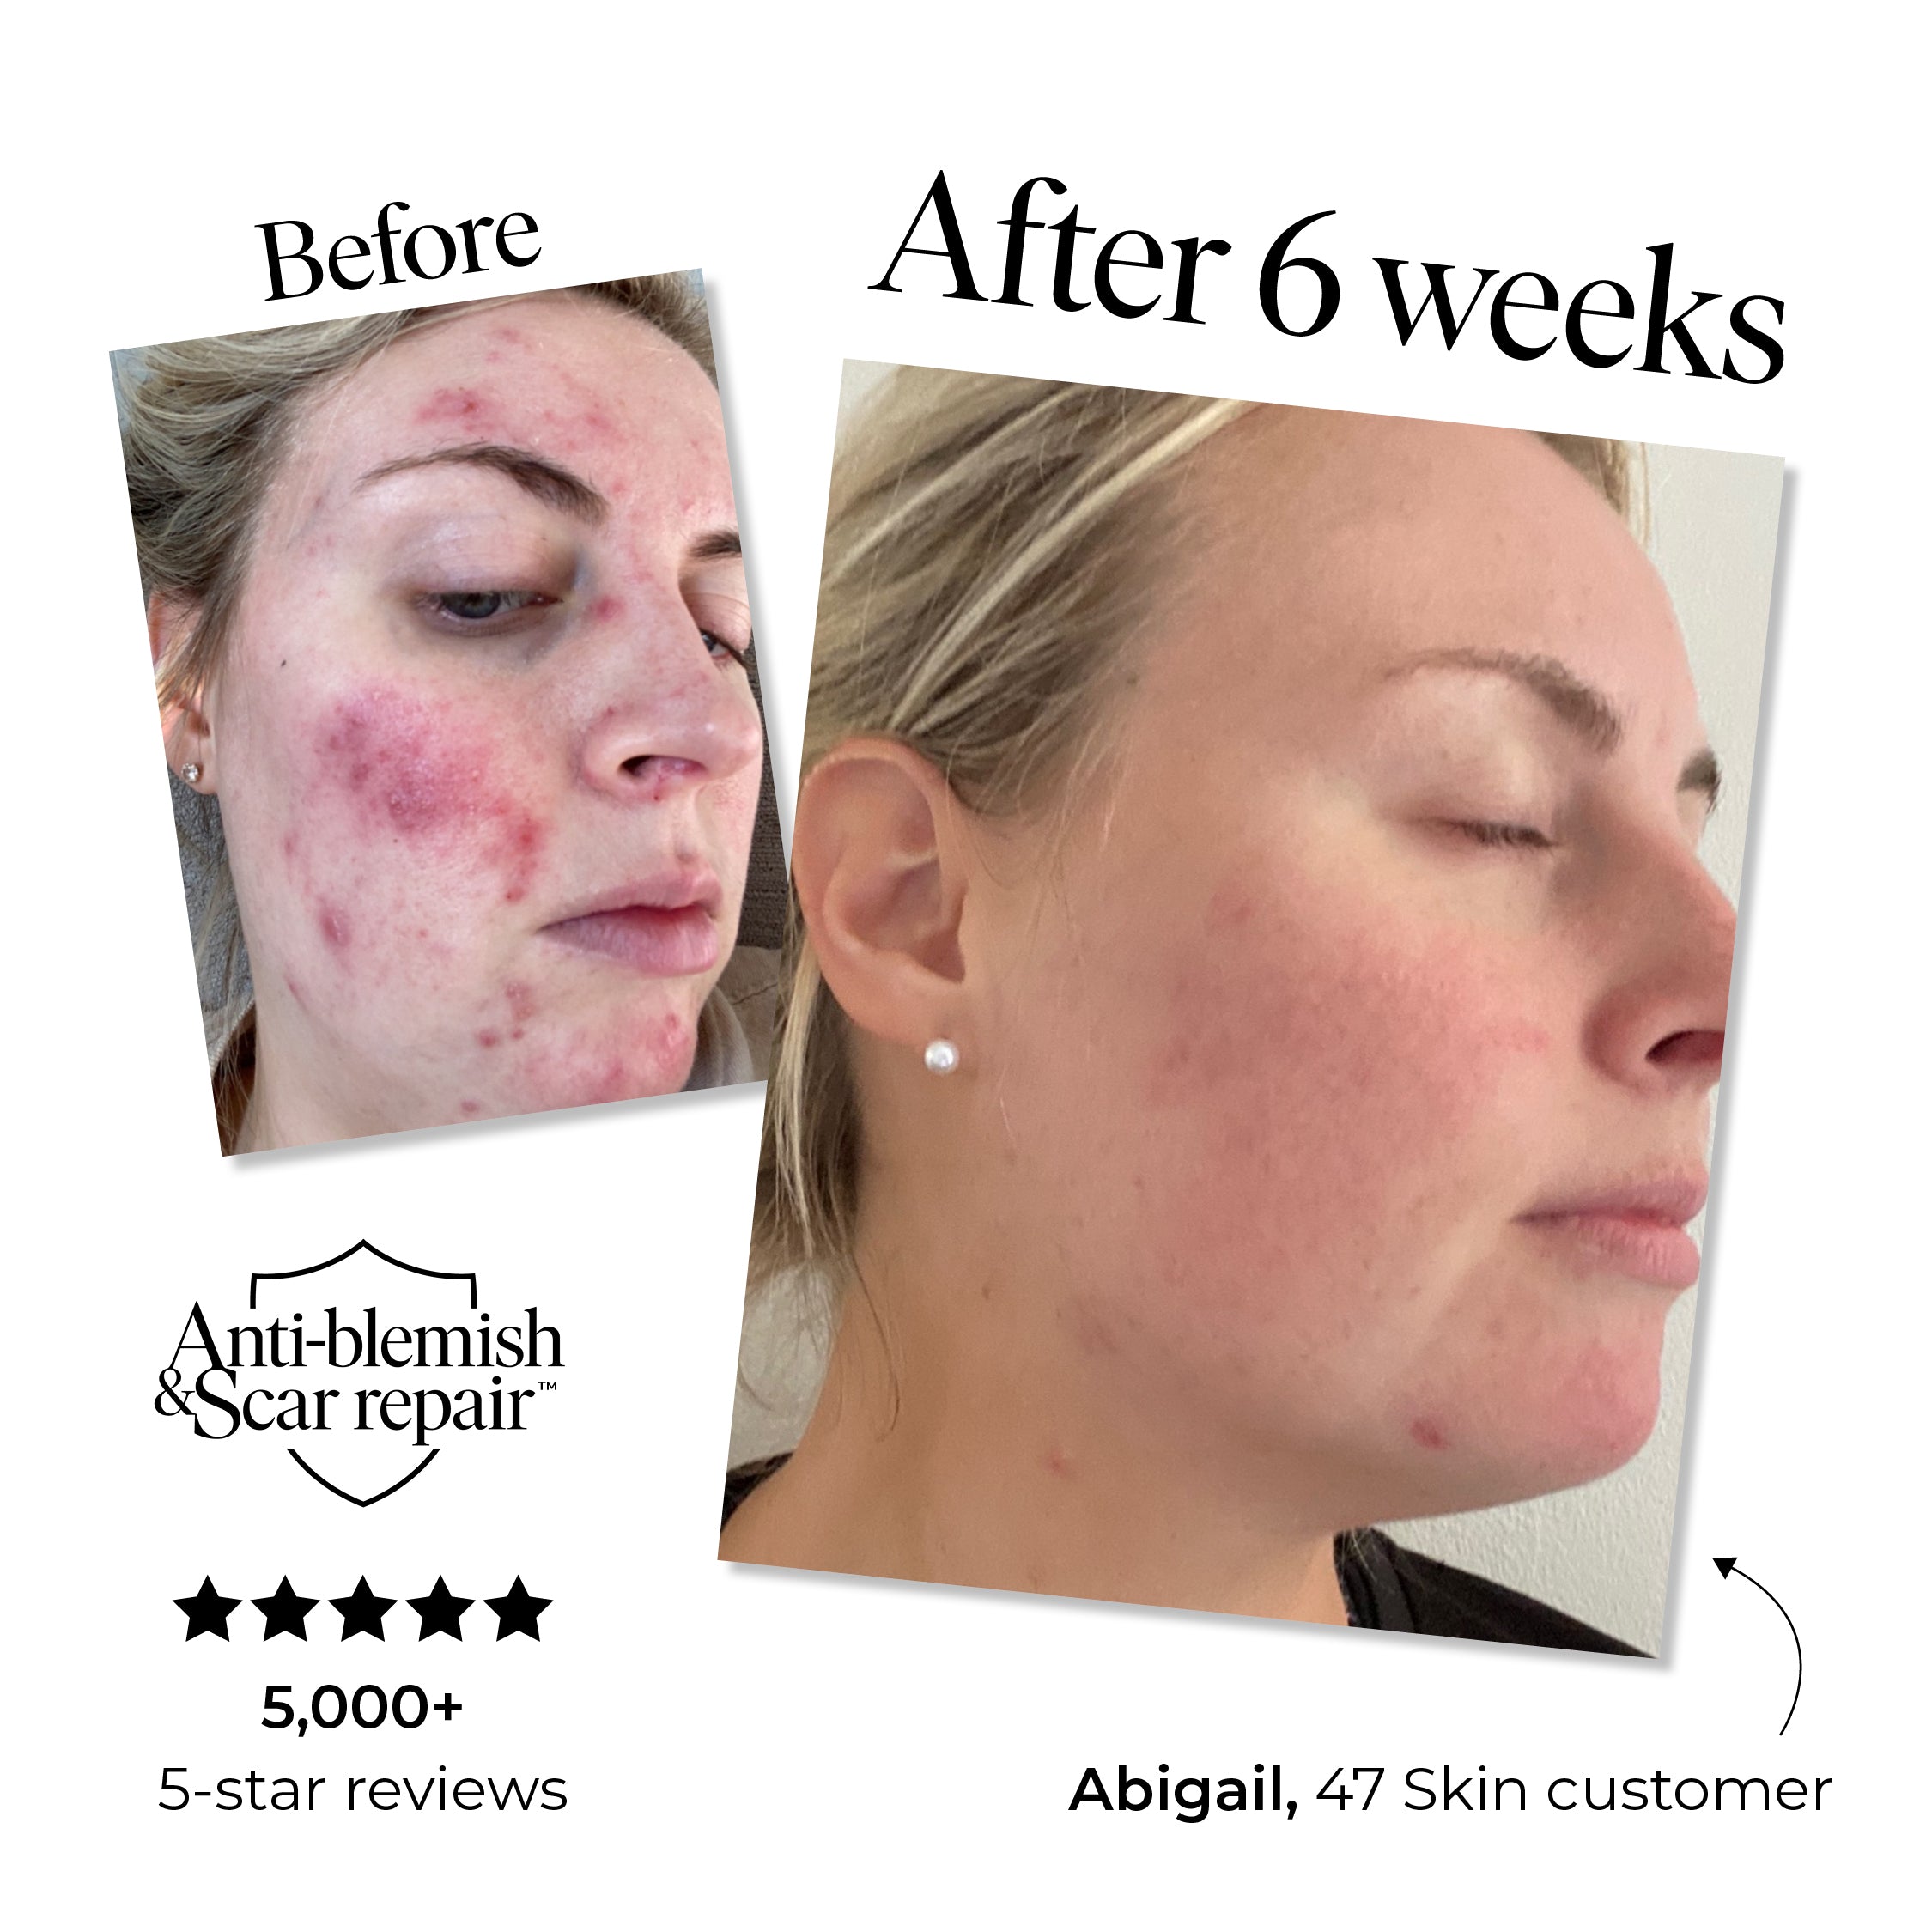
- Apply anti-blemish and scar repair serum. The specialist ingredient, Silver Chitoderm, creates a protective layer over your skin, shielding it from bacteria and helping your skin cells regenerate. Avoid greasy primers, as this will stop the concealer gripping to this type of spot.
- Dab a small amount of concealer onto the end of the whitehead with your finger.
- Use your small, thin brush to work the concealer into the edges of the spot, using fine brush strokes (you will need to get very close to your mirror for this). You may need to use your little finger to help blend it into the skin surrounding your spot.
- Repeat this process if needed to build up coverage.
- Finish off with a final dab of concealer on the end of the spot and a gentle dusting of powder to set it all in place.
The idea is to be as precise as possible, so that the concealer stays put.
If you use a beauty blender, often the sides of the spot don’t get covered properly, leaving the whitehead visible.
If all else fails, an expert trick is to cover it with black eyeliner and turn it into a beauty spot!
The Red Lurker
Red, under the skin spots can sometimes be the most unpredictable and frustrating to cover-up. Will it turn into a whitehead? How big is it going to get? Will it ever go away?
Make-up aside, the number one thing to remember with these is never, ever try to squeeze it – it will leave you with a scar.
- Apply anti-blemish and scar repair serum. It acts as a primer, but will also help your spot go down quicker, so it's ideal for this type of blemish.
- Use a green concealer (if you have it) on your spot and blend it well into your skin.
- Pat your normal concealer on and blend in a dabbing motion, using your beauty blender. Repeat if needed.
- Dust generously with powder.
The Healing Spot
When a spot is healing, it can often turn crusty or flaky, which is a nightmare when you want to apply make-up. Foundation and concealer can dry it out further, leaving an orange flaky mess behind.
- Start by gently buffing away any dry skin with a warm, damp flannel. Don’t be too aggressive as you don’t want to make it bleed.
- Moisturise and let it sink in for at least 10 minutes. Do this twice. The idea is to get your skin as moist and smooth as possible so your make-up sticks to it.
- Use a thick, hydrating primer such as Blur Primer from Yves Saint Laurent. It's super silky and perfect for this kind of blemish.
- Pat concealer onto and around the affected area, using a damp beauty blender in a dabbing motion. Repeat this 2-3 times so that you build up coverage. If you can still see dryness, use your tiny brush to fill in any cracks.
- Avoid using powder directly on your spot and apply to the surrounding areas.
Flat Scars & Hyperpigmentation
So your spots have finally healed, but oh the joy of dealing with the marks left behind. The good news is, scars are usually a lot easier to conceal than active acne.
The trick is to apply foundation first and then concealer.
This means your concealer won't rub off and you can make sure you have full control over the amount of coverage.
- First, exfoliate with a good scrub to get rid of dead skin cells and make sure you start with a smooth surface.
- Apply anti-blemish and scar repair serum, which will act as a primer and will help your skin cells regenerate.
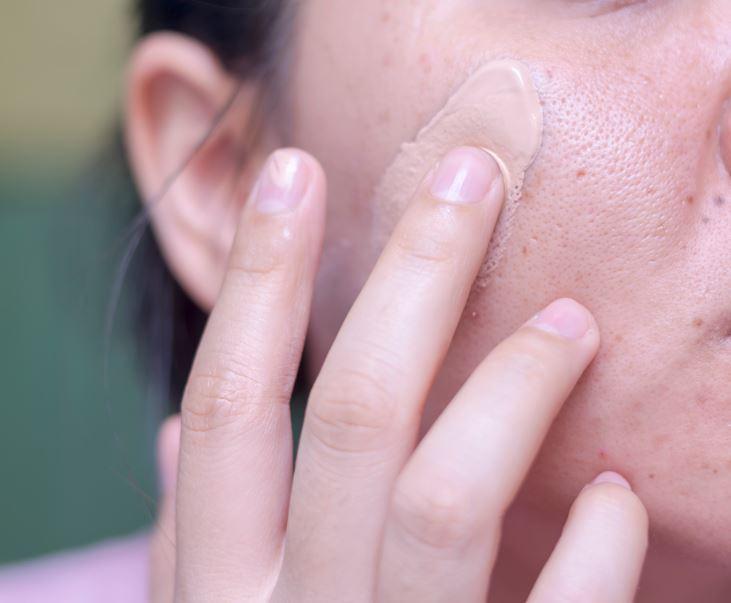
- Apply a light layer of foundation using a dabbing motion to blend it in. Use a little more foundation on your target areas.
- Dab concealer on your scars with your beauty blender or finger, until it's blended. You can repeat layers of this if needed. Dabbing is key so you build coverage on the surface of the skin. If you rub, your product will just sink into your skin.
- Finish with a dusting of powder to set it all in place.
